UAC (which stands for User Access Control) is a feature that was introduced with Windows Vista, and has been carried through into Windows 7. It provides a security layer between applications, and the system, so that unwanted applications cant simply cause havoc with system software/settings without the user authorizing it. A lot of legacy applications may not handle UAC very well at all, and in some situations, the only option you will have is to completely disable UAC. This guide will outline one of the methods that can be used to disable UAC.
Click the start button. Depending on your Windows 7 theme, it should look something like one of the two images below.
![]() or
or ![]()
Select the “Run” option from the start menu. To get to the run dialog, you can also hold the Windows key on the keyboard, and then press the r key.

Type “msconfig” into the run dialog as per below, and hit enter, or press the “OK” button.

The following screen should appear.

Click on the “Tools” tab at the top right of the window.

Highlight the “Change UAC Settings” item.

Press the “Launch” button.
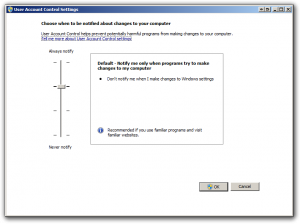
The “User Account Control Settings” windows will then appear.

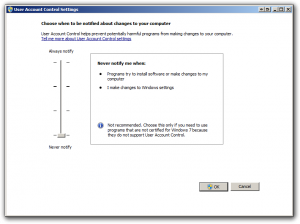
Drag the slider on the left hand side of the window down to the “Never notify setting at the very bottom.

Press the “OK” button to close this window.
You may get a UAC warning prompt being displayed when you hit “OK”. Accept this UAC message. This should be the last one that you get.

Click the “OK” button in the “System Configuration” window if it is still open in the background.
UAC will now be disabled.

