This howto guide will step you through the process of setting up your Microsoft Exchange 2010 Server to send emails via a smart host.
The use of a smart host can be useful when the Exchange server cant directly send emails to external mail server. This might be due to firewall rules, ISP filters, or DNS issues.
Configuring Exchange 2010 to use a Smart Host when sending emails:
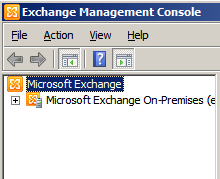
Open up the Exchange Management Console.

Once loaded, expand the options on the left hand side of the management console window.
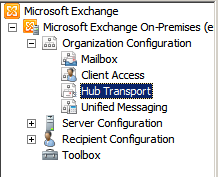
Expand “Organization Configuration” and select “Hub Transport”.
On the right hand side, you should see the hub transport options.
Click on the “Send Connectors” tab.

Right click your existing send connector, and select “Properties”.
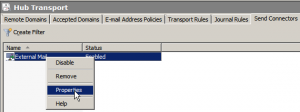
The send connectors properties window will pop up.
Click on the “Network” tab at the top of the properties window.
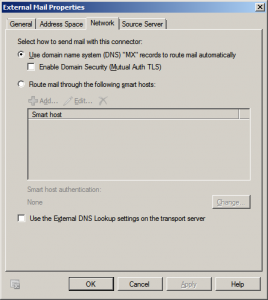
You have two options here for methods of sending emails. The first is to use the DNS system to route emails, and the second is to send emails via a smart host.
Select the “Route mail through the following smart hosts” option.

Once selected, the “Add” button and the Smart host listing section will become enabled.
Click “Add”.

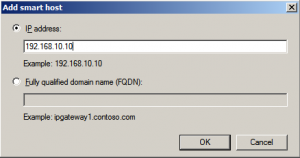
The smart host screen should appear.
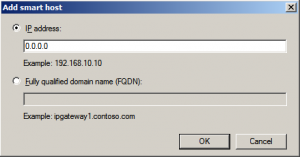
You can either specify the smart host address using the IP address:
or via the fully qualified domain name:
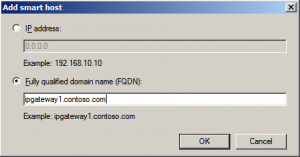
Once done, press “OK”.
This will take you back to the previous screen, and your newly added smart host should now appear in the Smart Host listing.
You can add more than one smart host if needed.
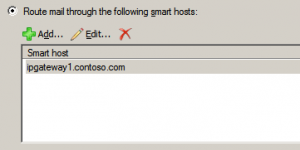
You will notice at the bottom, there is a authentication option, which by default is “None”. The authentication options apply to all the smart hosts listed. If your smart host server(s) requires authentication, click the “Change” button.
![]()
The following smart host authentication settings screen will appear.
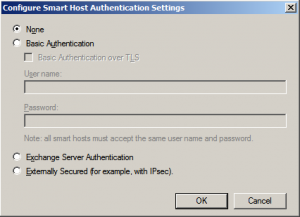
The two options that will generally be used are “None” and “Basic Authentication”.

Select “Basic Authentication” for the username and password fields to become enabled.
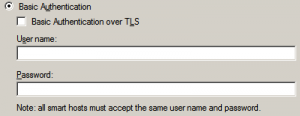
Enter in the username and password as required by your smart host server.
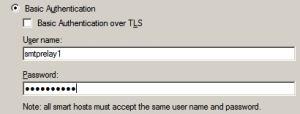
If your smart host server requires basic encryption over TLS, ensure the “Basic Authentication over TLS” tick box is ticked.
Click “OK” to go back to the send connector’s network configuration screen.
You can see that the authentication is now set to “Basic authentication”.
![]()
Click the “OK” button at the bottom of the send connector properties windows to apply the changes.
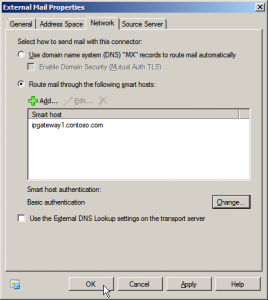
All outgoing emails that would go through that send connector will now go out via the specified smart host.
If you need to send the emails to the smart host on a port other than port 25, please read the following ‘how to’ article:
Change Exchange Smart Host Port Number

