VMware Workstation is a great product, but there will often be times where you need to move up to the next level, and start using VMware ESXi or vSphere. Thankfully VMware have a software program that makes the transition process painless. The VMware vCenter Converter provides the ability to convert between an existing virtual machine image, a physical PC, or a hard disk image. The converter is compatable with virtual machine images created with VMware Workstation, VMware Infrustructure, Microsoft Virtual PC, Parallels, Acronis True Image, Symantec LiveState and more.
VMware vCenter Converter is available as a free download from the VMware website, but you do need to register to be able to access it.
It can be downloaded from https://www.vmware.com/products/converter/
This guide will step through the process of converting an existing VMware Workstation virtual image of Windows 2008 server, to a ESXi 4 server. It assumes you have downloaded and installed the VMware converter.
Start by loading the VMware Converter application.
The main screen will look similar to the image below.
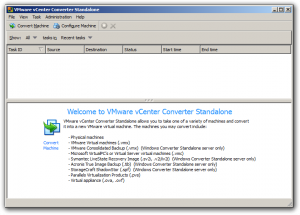
Click the “Convert Machine” button at the top left of the program.
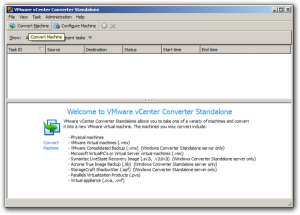
A wizard will now start asking a number of questions about the source and destination virtual machines.
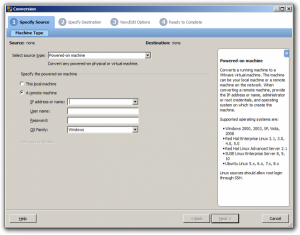
Change the source type to be “VMware Workstation or other VMware virtual machine”.
Browse for the .vmx virtual machine file.
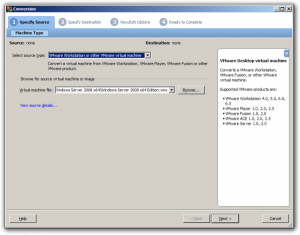
Press the “Next” button. You will then be asked to specify the destination options.
Select “VMware Infrastructure virtual machine” from the drop down list of destination types.
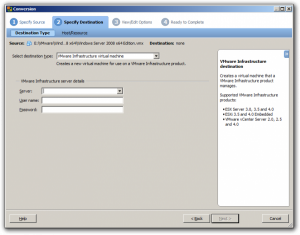
Fill out the server, username, and password details for your ESXi/vSphere host.
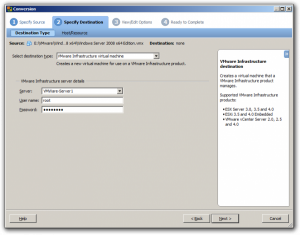
Press the “Next” button.
The next screen will display a list of all the options on the virtual machine. This is where you can modify any of the settings, such as memory size, number of network cards, etc.
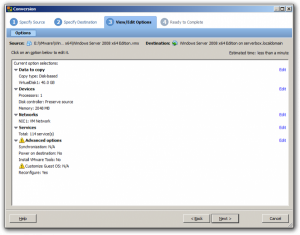
Press the “Next” button, and it will go through the various options that can be changed.
The first option relates to the data source, and the type of file will be created.
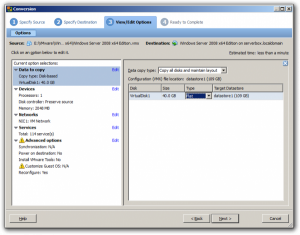
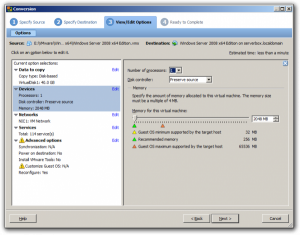
The next option is for device configration. This allows you to select the number of processors assigned to the virtual machine, change the disk controller, and also change the memory allocated to the virtual machine.
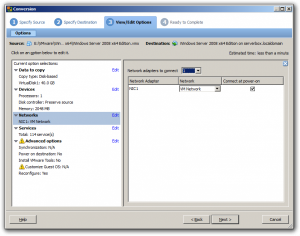
The next option allows you to change the network configuration. You can add/remove network adapters, and assign them to different virtual switches.
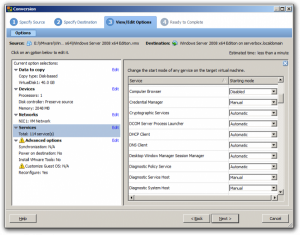
Depending on the operating system being converted (in this case Windows 2008 Server), you may get a services setup screen that will allow you to change the start-up type of the services that are set up on Windows on the guest virtual machine.
A good use of this would be to disable the DHCP server service so that there aren’t multiple DHCP servers on the network, which would cause conflicts.
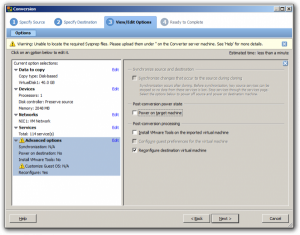
The next option will be the “Advanced options” section. From here you can set up post processing options to perform after the conversion finishes.
Once you have configured all the options that you want, press the “Next” button to continue.
You will be presented with a summary screen of all the options that were selected.
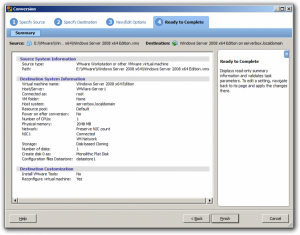
Press finish to finalize your options, and proceed with the virtual machine conversion.
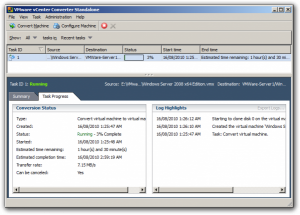
The “Status” column will start off as “Running”, and then shortly after will change to a progress bar with a percentage label.
It will take awhile to run depending on the size of the source virtual machine.
Once it has finished, it will display the following screen.
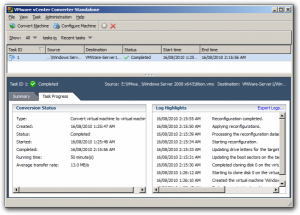
The “Status” column should now state “Completed”.
At this stage the conversion is complete, and you should be able to log into the ESXi/vSphere host and start the virtual machine.


Thanks for posting this. Easy enough when you can see it in pictures.
Thanks for a good explanation